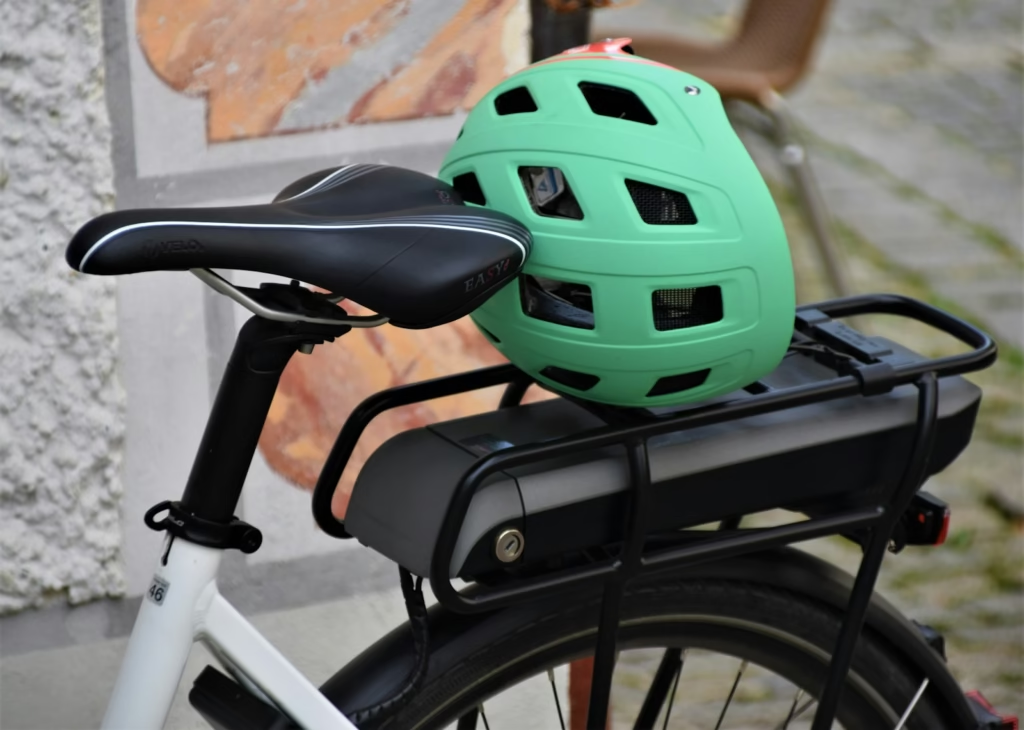
A helmet is one of the simplest bits of kit you can buy, but it is also one of the most misunderstood. New riders worry about vents, “aero” claims and price tags, then often skip the most important part: whether it actually fits their head properly.
This is a straightforward guide to choosing a helmet that meets safety standards, suits the kind of riding you do, and sits on your head the way it should.

Do you really need a cycling helmet?
In the UK, there is no legal requirement for adults to wear a helmet while cycling. You could, in theory, ride bare-headed forever. In practice, most regular riders wear one because they are a simple, reasonably comfortable layer of protection against the kind of falls that happen in normal riding.
A helmet will not turn you into a superhero or guarantee you will walk away from every crash, but a properly fitted, certified helmet can significantly reduce the severity of head injuries in common accident scenarios. Think more “seat belt” than “force field”.
If you are going to wear one, it is worth making sure it is:
- Built to a recognised safety standard
- In good condition (not ancient, cracked or crushed)
- The right size and shape for your head
- Adjusted properly every time you ride
The last point is where most people quietly compromise.
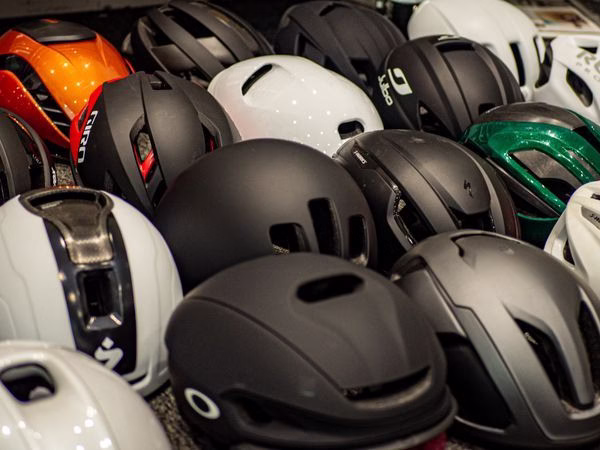
What to look for when choosing a helmet
You do not have to spend a fortune to get something safe and usable. Focus on a few key things first, then worry about style.
Safety standards
In the UK and Europe, you want a helmet that meets the EN 1078 standard (you will see this on a label or stamped inside the shell). Other regions have their own standards, but the key point is that the helmet has been tested for impact performance and strap strength.
If the label has worn off on a very old lid, or you cannot find a standard listed at all, treat that as a red flag rather than a quirky mystery.
Fit and head shape
Helmets come in sizes, usually something like small, medium and large, based on head circumference in centimetres. Measure your head with a soft tape measure about a centimetre above your eyebrows and around the widest part at the back. That number gets you in the right ballpark.
But circumference is only half the story. Some brands are more suited to rounder heads, others to more oval shapes. That is why trying a few on matters, even if you ultimately buy online once you know which model works.
When you put a helmet on before doing up any straps, it should already feel snug but not crushing. If you can shake your head gently and the helmet rocks around, it is too big or the shape is wrong. If you get pressure points or a headache within a minute, it is probably too small or the wrong internal shape.
Comfort and ventilation
For most road and leisure riders, you want a helmet that:
- Feels light enough that you forget about it after a few minutes
- Has decent vents so you do not boil on climbs
- Uses a retention system (the dial or cradle at the back) that is easy to adjust with one hand
More expensive helmets tend to be lighter and better ventilated. Aero models trade a bit of airflow for marginal drag savings, which matters to racers and time triallists, but is not essential for a beginner trying to get comfortable.
If you commute a lot in the dark, you might also look for reflective details or built-in light mounts, but those are bonuses, not essentials.

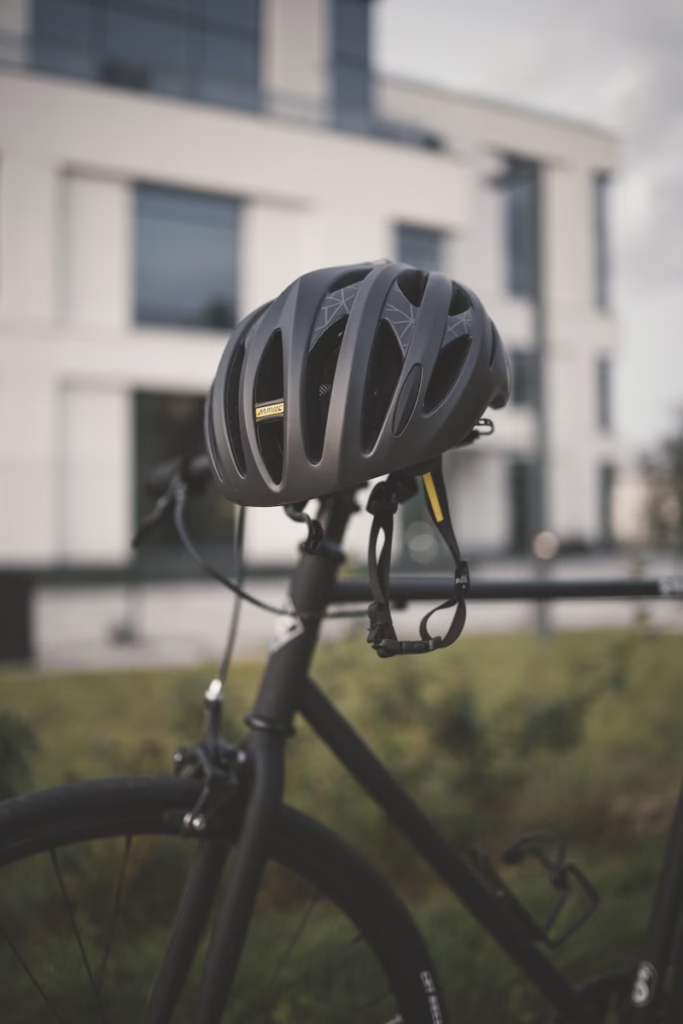
How to position the helmet on your head
A lot of riders own decent helmets but wear them badly. The classic mistake is the “sat on the back of the head” look, which exposes the forehead and does little for you in a forward fall.
Use this as a simple checklist:
- Place the helmet so it sits level, not tipped back. The front edge should sit just above your eyebrows, so it covers your forehead without dropping into your line of sight.
- When you look in a mirror, you should see the helmet shell, then a small strip of forehead, then your eyebrows. If you can see most of your forehead, it is too far back.
- The back of the helmet should sit low enough to protect the back of your head, but not so low that it hits your neck or pushes when you look up the road.
Once it is roughly in the right place, you can fine-tune the fit with the retention system and straps.

Using the retention system properly
Most modern helmets have an adjustable cradle at the back, usually tightened with a small dial. This does half the work of holding the helmet securely.
With the straps undone:
- Place the helmet on your head in the right position.
- Turn the dial until the cradle feels snug around the back of your head.
- Gently shake your head from side to side and nod up and down.
If the helmet stays put without the straps done up, just moving a little rather than sliding around, you are in the right zone. It should feel secure enough that you would not lose it in a small bump, but not so tight that it digs in or gives you a headache.
If you have to tighten the dial all the way and it still feels loose, you probably need a smaller size. If you barely touch the dial and it already feels like a vice, you may need to size up or try a different brand.
Adjusting the straps: the “V” and the “one finger” rule
Straps are there to keep the helmet in place during a crash, not to do all the work all the time. They should sit close to your face but not strangle you.
There are two parts to get right.
1. The side straps
These form a “V” shape around your ears:
- The plastic adjusters should sit just below your earlobes, not halfway down your neck or jammed under your jaw.
- The front and back strap pieces should be even, forming a neat V that cups your ears without twisting.
Adjust these first, before you do up the chin strap fully. It is fiddly once everything is tight.
2. The chin strap
Once the side straps sit correctly, buckle the chin strap:
- Aim for a gap of about one finger between the strap and your chin.
- You should be able to open your mouth and speak easily, but the strap should not hang loose.
- If you can pull the strap down over your chin or slide it off your face without undoing it, it is too loose.
A quick test: with everything done up, try to lift the helmet off by pulling up from the back or front. It should move a little, but not come close to coming off or exposing large areas of forehead.

Common fitting mistakes (and how to fix them)
Even experienced riders get these wrong. They are all easy to sort once you know what you are looking at.
- Helmet tipped back: If you can see a lot of forehead in the mirror, loosen the retention system and straps, move the helmet forward, then re-tighten. You might need to shorten the back strap slightly so it stops pulling the helmet backwards.
- Straps twisted or very loose: Undo the buckle, straighten the straps through the adjusters and start again. A few minutes spent once saves you fiddling every ride.
- Chin strap cutting into the throat: The side adjusters are probably too low, dragging the strap back. Slide them up closer to the ears so the chin strap sits more forward.
- Pressure points or headaches: Sometimes this is just over-tightening the retention system or straps. If it persists even when everything is sensibly snug, the helmet shape may not suit your head. Trying a different model is often the only fix.
When should you replace a helmet?
Helmets are not forever. There are a few clear signs that it is time to retire one.
- After a significant impact: If you crash and hit your head, even if the outer shell looks fine, the foam inside may have done its job and compressed. That helmet should be replaced; it will not offer the same protection next time.
- Visible damage: Cracks in the shell, chunks of foam missing, broken retention systems or straps are all reason enough to move on.
- Old age: There is no magical expiry date, but most manufacturers suggest replacing a helmet every five years or so, especially if it sees a lot of UV light, sweat and temperature changes. The materials degrade slowly over time.
Storing your helmet somewhere cool and dry, not in direct sunlight on a car parcel shelf, and giving it a gentle clean with mild soap rather than harsh chemicals will help it last as long as it should.
A simple routine before every ride
You do not need a full fitting ritual every time you go out, but a 15-second check becomes automatic quickly:
- Put the helmet on level, just above your eyebrows.
- Tighten the rear dial until snug.
- Clip the chin strap and check you can fit a finger between strap and chin.
- Give the helmet a little tug front and back to make sure it does not slide dramatically.
If that all feels normal, you are good to go.
The bottom line
You do not need the most expensive helmet in the shop to be safe. You need one that:
- Meets a recognised safety standard
- Matches your head size and shape
- Sits level on your head, not pushed back
- Has properly adjusted straps and a snug retention system
Get those basics right and you will have a helmet that does its job quietly in the background, which is exactly how it should be. After that, the riding is up to you.