A full professional bike fit is ideal, but it is not always realistic when you are buying your first proper bike, shopping online, or working to a tight budget. The good news is you can still get very close to the right size with a bit of method rather than guesswork.
Think of it as stacking small, sensible decisions: frame size, saddle height, cockpit length and bar height. Get each of those roughly right, and you will end up with a bike that feels natural to ride, even without anyone pointing lasers at your knees.

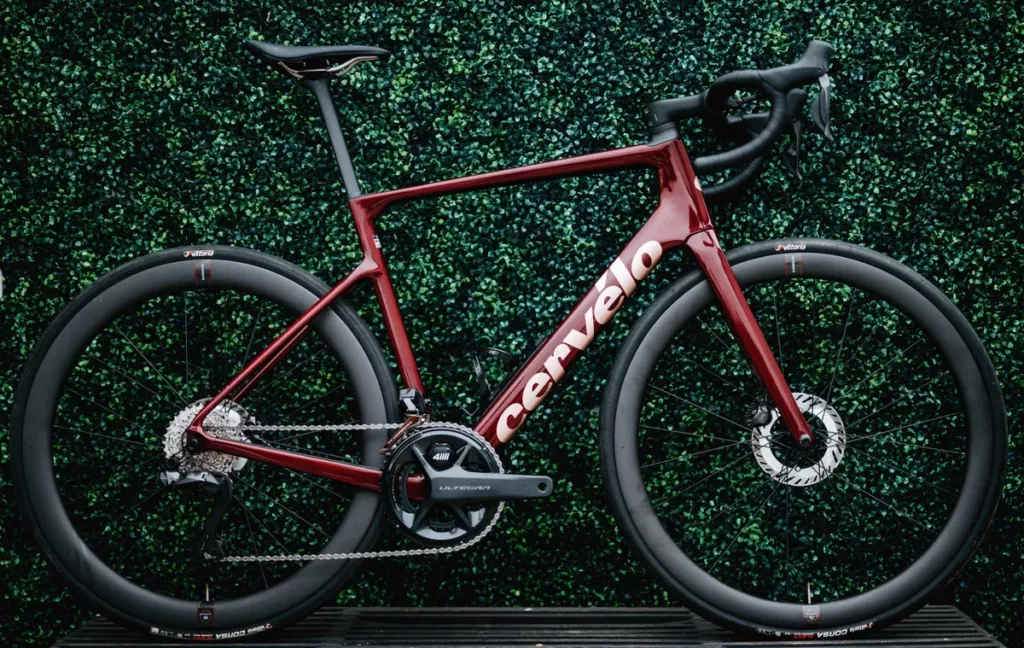
Start with the frame, not the saddle
You can adjust contact points quite a lot, but you cannot make a fundamentally wrong frame size feel “perfect”. So the first job is choosing the right starting size.
Most brands give you a height range for each size. Those charts are useful, but they are only a first filter. Two riders of the same height can have very different leg and torso proportions, and that changes what feels comfortable.
A simple way to improve on height alone is to add your inside leg measurement. Stand barefoot against a wall, place a book between your legs as if it were a saddle, then measure from the floor to the top of the book. That number helps in two ways:
- It gives you a sense of how much saddle height you will need above the bottom bracket.
- It tells you whether you are more leggy or more torso-heavy compared to average for your height.
If you are towards the shorter end of a size range but with a long torso, the bigger of two sizes often makes sense. If you are tall but with relatively short legs, the smaller of the two can be easier to set up without ending up too stretched.
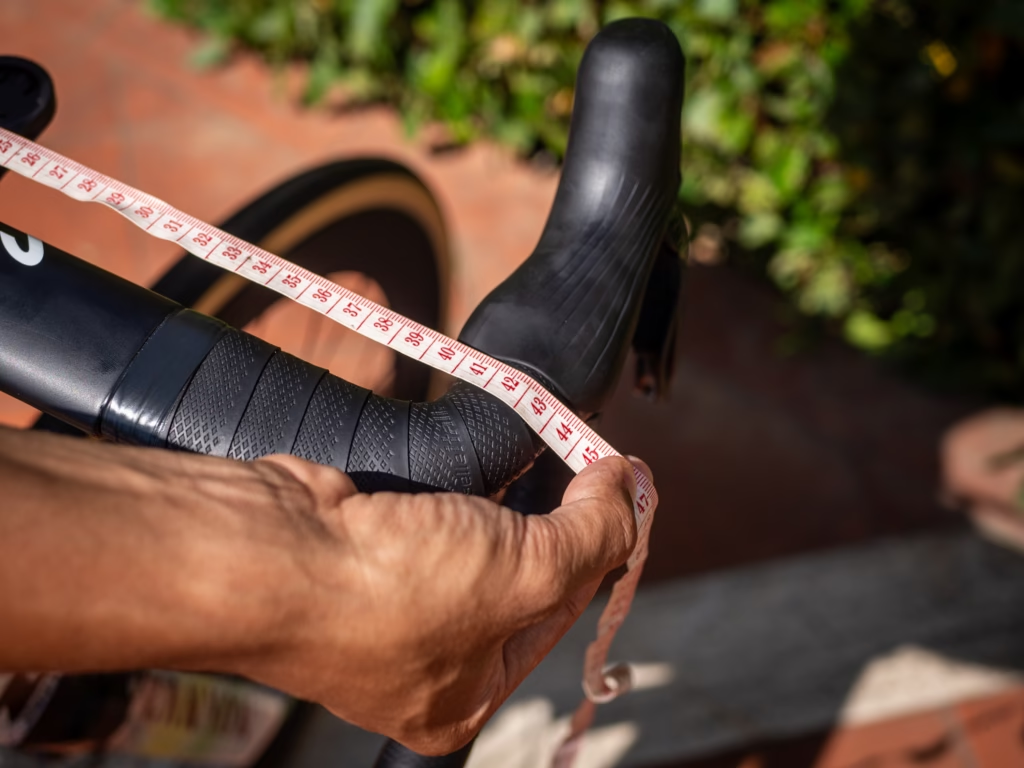
For road and gravel bikes, it also helps to look at stack and reach on the geometry chart, even if you are not a numbers person. Stack is roughly how tall the front end is, reach is how far it is from the bottom bracket. If you have a bike that already fits you well, compare those numbers to anything you are considering. If you do not, aim for something that does not have an extreme reach for its size and offers a reasonably tall stack if you prefer a less aggressive position.

Use the shop floor properly
If you are in a bike shop rather than online, do more than just stand over the frame.
First, check standover. With the bike on level ground, straddle the top tube in your cycling shoes. You want some clearance between you and the frame, not a full contact moment. This is more critical on sloping top tubes and off-road bikes than modern compact road frames, but it is still a useful sanity check.
Then sit on the bike, with the saddle roughly at riding height, and put your hands on the hoods (on a drop-bar bike) or grips (on a flat-bar bike). Ask yourself a couple of simple questions:
- Can you reach the bars without locking your elbows or shrugging your shoulders?
- Does your back feel like it is in a natural curve, or are you folding yourself in half?
This is not about “looking pro”, it is about whether you could hold that position for an hour. If you feel instantly cramped or over-stretched in the shop, that feeling will not magically improve when you are 40 kilometres from home.
A short spin round the block, if the shop allows it, will tell you more than any amount of staring at the bike. Pay attention to whether you are reaching for the bars on corners, whether your hands feel locked or relaxed, and whether you feel balanced on the saddle or constantly sliding forwards or backwards.

Setting saddle height by feel and a bit of method
Once you have the frame size, the next most important adjustment is saddle height. You can get surprisingly close without any specialist tools.
The classic starting point is the “heel on the pedal” method. In cycling shoes, sit on the saddle with your heel on the pedal at the bottom of the stroke, in line with the seat tube. Adjust the saddle so your leg is just straight in that position. When you then clip in normally, or place the ball of your foot over the pedal on flats, you will have a small bend in the knee, which is about where you want to be.
From there, fine-tune on the road:
- If your hips rock from side to side when you pedal, the saddle is too high.
- If your knees feel very bent at the bottom of the stroke and you feel like you are pedalling “squares”, it is probably too low.
- If you consistently get discomfort at the front of the knees, think about dropping the saddle a few millimetres. If it is more at the back of the knee or hamstrings, it may be too high.
Make changes in small steps, three to five millimetres at a time, and give your body a few rides to adapt before making another adjustment.
Remember that saddle height interacts with saddle setback (how far the saddle is behind the bottom bracket). If you slide the saddle a long way forward or back on the rails, you may need to tweak the height slightly to keep the leg extension feeling the same.
Getting cockpit length and bar height under control
Once the saddle position feels reasonable, turn to the front of the bike. This is where most “wrong size” complaints actually come from. Even on the right frame size, a stem that is too long or too short can transform how the bike feels.
A basic check is how you look and feel when riding on the hoods:
- There should be a gentle bend in your elbows, not locked straight.
- Your shoulders should feel relaxed, not bunched up towards your ears.
- You should feel balanced between the saddle and bars, not like you are hanging off your hands.
If you feel stretched, the first fix is usually a shorter stem or slightly higher bar position. If you feel cramped and hunched, a longer stem or lower front end can open things up. Most modern road bikes ship with stems between 90 and 110 mm, and there is a lot of room to move without wrecking the handling.
On many bikes, you will see spacers above and below the stem on the steerer tube. By moving a couple of spacers from below the stem to above, you lower the bars a touch. Doing the opposite raises them. Small changes here are often enough to take pressure off your hands, neck and lower back.
Flat-bar bikes are similar in principle. If your wrists are cocked awkwardly or your shoulders ache after short rides, bar width and sweep might not suit you. Sometimes a different bar shape or a small change in height through spacers or a new stem sorts it.

Listen to what your body is telling you
You do not have a full set of fit numbers, but you do have a lot of feedback from your body. The trick is to interpret it sensibly.
Some normal adaptation is expected if you are new to cycling or coming back after a break. A bit of general muscle fatigue, mild saddle soreness on the first few rides, a sense that your hands are not used to weight on them yet – all of that is normal.
What you should pay attention to is persistent, specific pain:
- Front of the knees complaining every ride often points to too low a saddle, too hard a gear, or both.
- Pain behind the knees or in the hamstrings can indicate a saddle that is a bit too high.
- Numb hands and tingling fingers suggest too much weight on the bars, a reach that is too long, or bars that are too low.
- A constantly sore neck and shoulders usually mean you are craning to see the road because the front end is too low or far away.
Treat this feedback as a prompt to make small, logical changes rather than an invitation to chase miracles. Move one thing at a time, in small increments, and give it a few rides before you judge.
Buying online without flying blind
Online buying is where the lack of a full fit feels most obvious, but you can still stack the odds in your favour.
Use the brand’s size guide to identify one or two likely sizes. Check the geometry chart, particularly reach and stack, against any bike you know you fit, even if that is a borrowed machine. Read the small print for things like maximum and minimum saddle height on certain seatpost designs, and how many spacers you can realistically run under the stem.
If you are between sizes, think about your riding and flexibility. Riders who want a more relaxed position or expect to do steadier miles are often happier sizing down and using a slightly longer stem if needed. Riders who are flexible, performance-minded and used to sportier positions can usually handle the larger size so long as the reach is not excessive.
When the bike arrives, treat the first few weeks as a shakedown period. Expect to adjust the saddle height and angle, perhaps the stem length, and possibly the bar rotation. These small tweaks are part of the process, not a sign that you bought the wrong bike.
Know what a professional fit adds – and what you can mimic
A good fitter brings experience, a critical eye and tools you cannot easily replicate at home. They are valuable when you have specific issues, a history of injuries, or performance goals where efficiency matters.
Without a fit, you are mostly working from simple geometry, feel and common patterns. That gets you 80 to 90 per cent of the way there for many riders. The last part is the fine-tuning that optimises you as an individual rather than making the bike broadly suitable.
Where you can mimic the fit process is in your attitude. Be methodical. Take notes of saddle heights and spacer positions. Change one thing at a time. Pay attention on rides. If you do that, you will end up closer to a good fit than many people who just ride whatever came out of the box.

The simple framework to remember
You do not need to memorise angles and formulas. Keep this framework in your head instead:
- Pick a frame size using height plus inside leg, and be wary of going too big.
- Set saddle height with the heel-on-pedal method, then refine by feel and knee comfort.
- Adjust reach and bar height so your elbows are softly bent and your shoulders relaxed.
- Let your body feedback guide small changes, rather than trying to force yourself into a position that looks a certain way.
Do that, and you will be very close to the right bike size, even without ever booking a full fit. From there, it is just miles, small tweaks and learning how you like a bike to feel under you.