Breathing new life into an old, worn-out bike can be both a rewarding hobby and a sustainable practice. This article delves into the art of reviving scrap bikes, transforming them from forgotten relics into treasured, functional rides. We’ll explore the steps involved in this transformation, from assessing and repairing damages to upgrading components and giving the bike a fresh aesthetic appeal. Whether you’re a seasoned cyclist with a passion for DIY projects or someone interested in upcycling and sustainability, this guide will provide practical tips and inspiring ideas on how to turn a neglected bike into a renewed, cherished possession.
1. What are the initial steps to take when reviving a scrap bike?
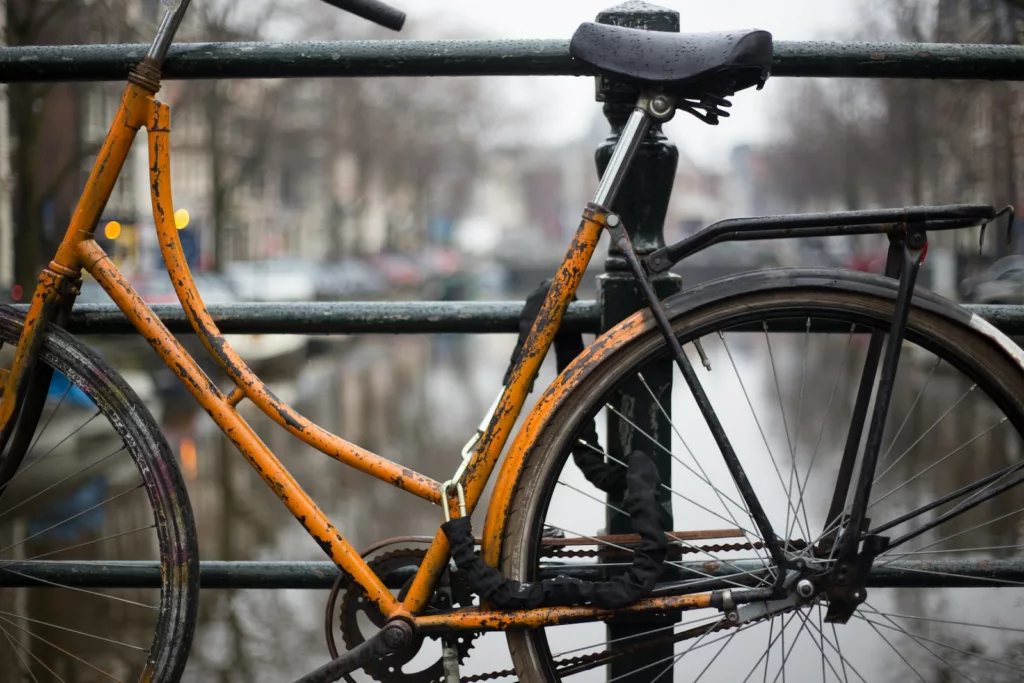
Reviving a scrap bike can be an exciting project, but it’s essential to approach it methodically. Start by assessing the condition of the bike. Look out for rust, broken parts, or anything that might need replacing. Make sure the frame is not bent or damaged, as this could compromise the safety of the bike.
Once you’ve assessed the bike, it’s time to clean it. Use a bike-specific degreaser for the chain and gears, and soapy water for the rest of the bike. This will help you see any hidden issues and make the bike easier to work on.
Next, strip the bike down. Remove all the components, keeping track of where everything goes. This will make it easier to clean, repair, or replace parts. It’s a good idea to take photos as you go, to help you remember how to put everything back together.
After stripping the bike, inspect each part closely. Look for wear and tear and decide whether it’s more cost-effective to repair or replace. Remember, safety is paramount, so don’t take shortcuts with parts like brakes or tyres.
Finally, make a list of all the parts you need and start shopping around. You can often find second-hand parts online or at local bike shops. Remember to check compatibility before buying.

2. How can I identify which parts of the bike need replacing?
Identifying which parts of a scrap bike need replacing can be a challenging task, especially for beginners. However, with a keen eye and a bit of knowledge, you can quickly determine which parts need attention.
Start with the frame. Look for any signs of rust, cracks, or bends. If the frame is damaged, it may be best to look for a new one, as this is the backbone of your bike.
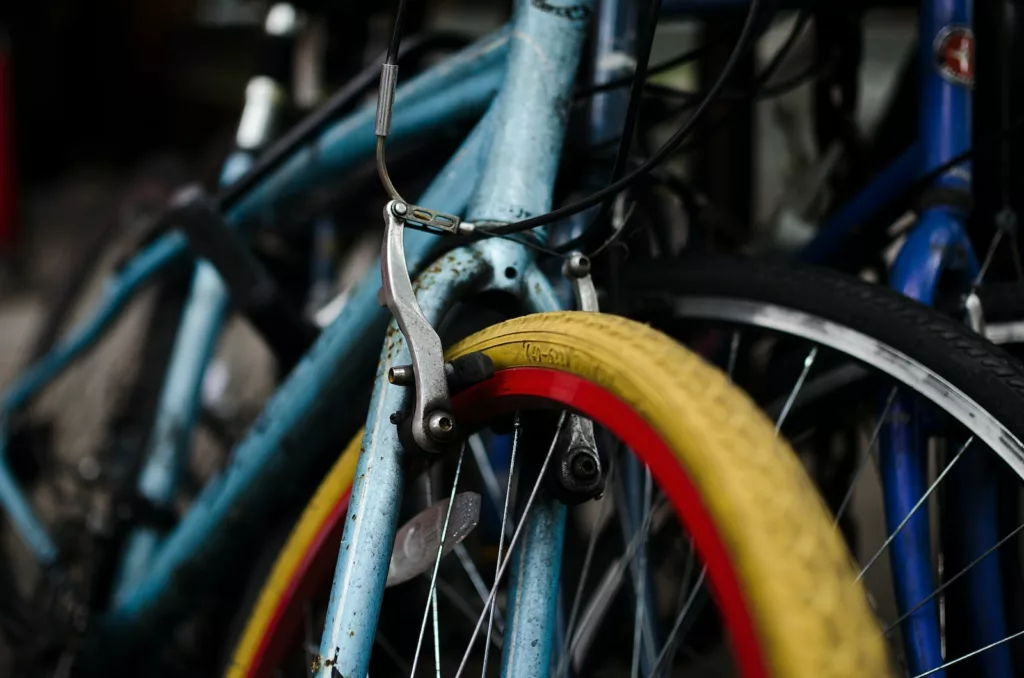
Next, check the wheels. Look for any signs of damage on the rims, spokes, and hubs. If the wheels are not true (straight), they may need to be replaced or repaired by a professional.
The drivetrain, which includes the chain, gears, and derailleurs, is another critical area to inspect. Look for rust, worn-out teeth on the gears, and any signs of damage. If the chain is rusty or the gears are worn down, they will need replacing.
Brakes are another crucial part of the bike. Check the brake pads for wear and the cables for any signs of fraying. If the brakes are not functioning correctly, they will need attention.
Finally, don’t forget to check the saddle, handlebars, and pedals. These parts may not affect the bike’s functionality, but they are essential for comfort and control. If they are damaged or worn out, you may want to replace them.
3. Can I repaint my scrap bike, and how?
Yes, repainting your scrap bike is not only possible but also a great way to give it a new lease of life. However, it’s not as simple as just applying a coat of paint. There are several steps involved.
Start by removing any old paint and rust. You can do this using sandpaper or a wire brush. This step is crucial, as new paint won’t adhere well to rust or flaking old paint.
Next, apply a primer. This will help the paint stick to the bike and provide a base for the colour. Make sure to choose a primer that’s suitable for metal and the type of paint you’re using.
Once the primer has dried, you can start painting. Use slow, even strokes to avoid drips and ensure a smooth finish. It’s better to apply several thin coats rather than one thick one.
After the paint has dried, you might want to apply a clear coat for extra protection. This will help protect the paint from chips and scratches, as well as give it a glossy finish.
Finally, let the bike dry completely before reassembling it. This could take a few days, depending on the type of paint and the weather conditions.
4. What tools do I need to revive a scrap bike?
Reviving a scrap bike requires a range of tools, some of which you may already have at home. Here’s a basic list:
- Wrenches: You’ll need a set of these to remove and install various parts of the bike.
- Screwdrivers: These are essential for adjusting parts like the brakes and derailleurs.
- Chain tool: This is used to break and rejoin the chain.
- Tire levers: These make it easier to remove and install tires.
- Allen keys: Many bike components are held together with hex bolts, so a set of Allen keys is a must.
- Wire cutters: These are useful for cutting brake and gear cables.
- Bike stand: While not essential, a bike stand can make the job a lot easier by holding the bike at a comfortable working height.
A cyclist’s toolkit like this one should cover a wide variety of bike jobs, especially on an older bike. Remember, it’s crucial to use the right tool for the job to avoid damaging your bike or hurting yourself.
5. How much does it cost to revive a scrap bike?
The cost of reviving a scrap bike can vary greatly, depending on the condition of the bike and the parts you need. However, it’s generally much cheaper than buying a new bike.
If the bike only needs a good clean and some minor repairs, you might be able to revive it for under £50. This would cover the cost of basic tools, cleaning supplies, and small parts like brake pads or cables.
If the bike needs more significant work, such as new tyres, a new chain, or a new saddle, the cost could rise to around £100-£200.
If the bike needs major work, such as a new frame or wheels, the cost could be even higher. However, it’s worth considering whether it’s more cost-effective to buy a new bike in this case.
Remember, reviving a scrap bike is not just about saving money. It’s also a great way to learn about bike maintenance, and it can be a rewarding project in its own right. Plus, you’ll end up with a unique bike that’s perfectly tailored to your needs.