
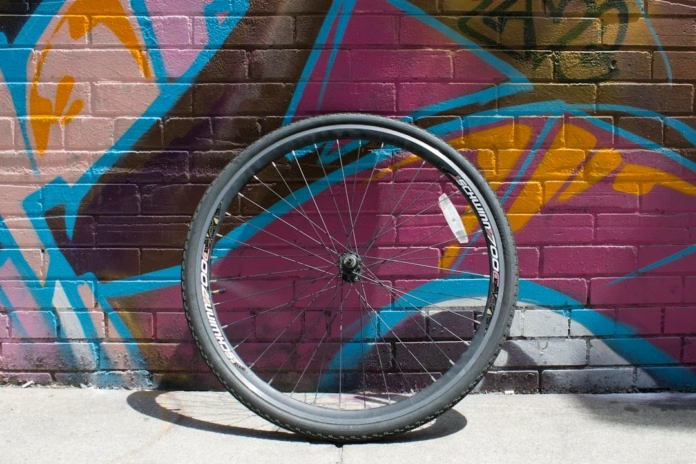
A road tyre does not need to burst before it tells you it is finished. A cut in the sidewall, a visible casing thread or a bulge can make replacement necessary even when the tread still looks new. At the other extreme, a tyre that has rolled thousands of kilometres may look flatter across its centre without being immediately unsafe. Knowing the difference saves money without asking a badly damaged tyre to carry on.
There is no reliable universal mileage limit for road cycling tyres. Their lifespan changes with the rubber compound, casing, rider weight, inflation pressure, surface, punctures and storage conditions. The better approach is a systematic inspection of the tread, sidewalls and bead, followed by a decision about how much usable tyre remains.
 Photo Credit: Mark Naberezhnykh / Unsplash
How do you know when a road bike tyre needs replacing?
Schwalbe advises replacement when the puncture-protection layer or carcass threads become visible through the tread. The manufacturer also notes that puncture protection declines as tread rubber wears away, so a rider may sensibly replace the tyre earlier. Continental recommends checking for tears, bulges and exposed casing, and notes that rear tyres commonly wear more quickly than fronts.
Those are more meaningful warning signs than a simple age or distance rule. A tyre with a deep sidewall cut should not be kept in service because it has covered only 500km. Equally, a sound, properly stored road tyre does not automatically become unusable because a cycling app shows an arbitrary distance threshold.
| What you find | What it may indicate | Practical response |
|---|---|---|
| Carcass threads or puncture belt visible through the tread | Tread worn beyond a safe working limit | Replace the tyre |
| Sidewall bulge, deep cut or separation | Structural casing damage | Do not ride; replace and inspect the rim |
| Tread wear indicator disappears | Manufacturer-defined wear limit reached | Replace according to the tyre maker’s instructions |
| Small superficial nick with no exposed structure | Possible cosmetic or minor tread damage | Remove debris and monitor carefully |
| Frequent punctures with visibly thinned tread | Reduced puncture protection | Consider replacement even before casing is exposed |
| New vibration or localised tyre bulge | Potential casing or seating problem | Stop and investigate before riding further |
Look for wear indicators, not a fixed number of miles
Some road tyres have tread wear indicators that simplify inspection. They may take the form of shallow dimples in the tread, designed to disappear as the rubber wears. Schwalbe, for example, says certain Pro One models use such indicators. Their location and meaning are product-specific, so consult the information for the exact tyre rather than assuming every small hole or marking is a wear gauge.
Not every tyre has a visible indicator. Some have tread patterns for water and grip, some use smooth slick surfaces, and some have moulded markings that do not show remaining tread depth. If no indicator is specified, inspect the rubber and casing directly.
Mileage remains useful as background information. A commuting tyre riding over gritty roads year-round can wear differently from a race tyre used on clean summer tarmac. Tyres mounted on the front wheel may also last substantially longer than the rear, although cuts or structural damage can end either tyre’s service life early.
Does a flat spot across the centre mean the tyre is worn out?
Most road tyres gradually lose rubber near the centre of the tread, where they spend the greatest proportion of their time on the road. This can leave a squarer profile. That is a reason to inspect the tyre closely, not automatic proof that it must be discarded. The remaining rubber, casing condition and manufacturer guidance matter more.
If you can see exposed casing fibres, or the tyre has become so thin that small pieces of debris repeatedly penetrate it, continuing to use it may be false economy. New tubes, lost time and potential roadside incidents can outweigh the value of the last few rides.
The effect is different on tyres with pronounced knobs. On gravel or off-road tyres, significant tread wear can reduce traction before the carcass is exposed. A slick road tyre does not depend on deep grooves in the same way as a treaded off-road tyre, so do not judge it as if it were a car tyre.
Sidewall damage matters more than a little surface wear
Look at both sidewalls while slowly rotating the wheel. Fine marks on the rubber surface are not necessarily the same as cracks that reach the reinforcing structure, but any bulge, split exposing fabric, or distortion of the tyre shape deserves serious attention. A damaged sidewall is part of the inflated tyre’s load-bearing structure.
Continental specifically warns that tears and bulges can develop until the tube pushes through the sidewall. Tubeless riders have an additional reason to be cautious: a compromised tyre sidewall or bead can lose pressure even if sealant temporarily masks a small leak.
Check the tyre near the bead where it meets the rim. If there is evidence of separation, damaged bead material or uneven seating, do not inflate beyond the relevant manufacturer’s limit or keep riding to see whether the problem settles. Deflate and investigate the source of the damage. A tyre that has been ridden flat or suffered a significant impact may need close inspection even if the outside initially appears intact.
How do punctures and tiny cuts affect the decision?
A small piece of flint or glass embedded in the tread can eventually work deeper, causing punctures. When inspecting a tyre, remove accessible debris carefully without enlarging a cut, then check whether the casing remains intact. A tiny superficial nick in the outer rubber does not necessarily make the tyre unusable.
A hole or slash exposing the casing is different. Tyre boots and emergency repairs can sometimes help a rider reach safety, but they are not a guarantee of a permanent, high-pressure structural repair. Follow the tyre manufacturer’s instructions on whether a particular puncture is repairable, and distinguish tubeless tread plugs from sidewall repairs.
If you experience several punctures in quick succession, check for the original embedded object before replacing more tubes. The issue may be one overlooked shard rather than a universally worn tyre. Inspect the rim tape and inside of the casing as well. Our tubeless air-loss guide explains why a tyre can lose pressure without an obvious new puncture.
How old is too old for a bicycle tyre?
Tyres can deteriorate when exposed to ultraviolet light, heat, ozone and unsuitable storage conditions. However, calendar age alone does not establish the condition of a particular tyre. A new old-stock tyre stored correctly may look and behave differently from one fitted outside in direct sunlight and repeatedly run underinflated.
Before fitting a tyre that has been stored for years, inspect the tread, sidewalls and bead closely. Do not use a tyre showing serious cracking, distortion or separation. Where the manufacturer gives a product-specific storage or service-life recommendation, follow it. Avoid invented universal rules such as ‘all bicycle tyres expire after three years’.
If you are unsure whether an old tyre is structurally sound, a professional inspection is more sensible than using it for a long descent or a high-speed group ride. Safety is not simply a calculation of how much rubber remains.
Why your rear road tyre usually wears first
The rear wheel often carries more of the rider’s weight while also transmitting drive force. That helps explain why a rear tyre can develop a flattened central tread well before the front one. The balance varies with rider position, luggage and bike geometry, but it makes checking only the front tyre an easy mistake.
Some riders move a partly worn front tyre to the rear when replacing a set. That needs careful judgement: the front tyre has a particularly important role in steering and braking, and manufacturers may have guidance on tyre direction or position. Do not move a tyre with damage or insufficient tread to another wheel simply to extract more mileage.
When replacing both, check whether you want the same casing and width at the front and rear. Our road bike tyre pressure guide explains why a change from 25mm to 28mm or 32mm can alter the appropriate inflation pressure. Confirm frame, rim and brake clearance before purchasing a different size.
Should you replace a tyre after a puncture?
Not automatically. A straightforward small tread puncture in an otherwise sound tyre may be repairable, depending on whether it uses an inner tube or a tubeless system and the exact manufacturer’s repair guidance. A puncture repaired with an inner tube does not remove the need to inspect the tyre for remaining sharp debris.
Replace the tyre if the damage is extensive, affects the bead, threatens the casing’s structure or cannot be repaired safely according to the manufacturer’s instructions. If the rim also sustained an impact, inspect it separately. Fitting a new tyre over a damaged rim does not make the wheel safe.
A two-minute tyre check before your next ride
With the bicycle stationary, inspect both tyres around the full circumference. Look for embedded debris, exposed fabric, wear indicators, sidewall cuts, bulges, bead problems and unusual deformation. Check pressure with a reliable gauge and confirm that each tyre is seated evenly on the rim.
Next, think about the journey ahead. A long, wet ride on remote roads places more value on a dependable casing than a short local spin with easy transport home. That should not change the underlying safety limit, but it may change how early you replace an ageing, puncture-prone tyre.
Finally, keep replacement choices compatible. Tyre width, internal rim width, hookless compatibility, maximum pressure and whether the setup is tubeless-ready all matter. Our bike tyre inflation guide covers the valve and pump basics after a tyre change. The goal is a tyre that is structurally sound and appropriate for the wheel, not one that merely holds air in the workshop.

