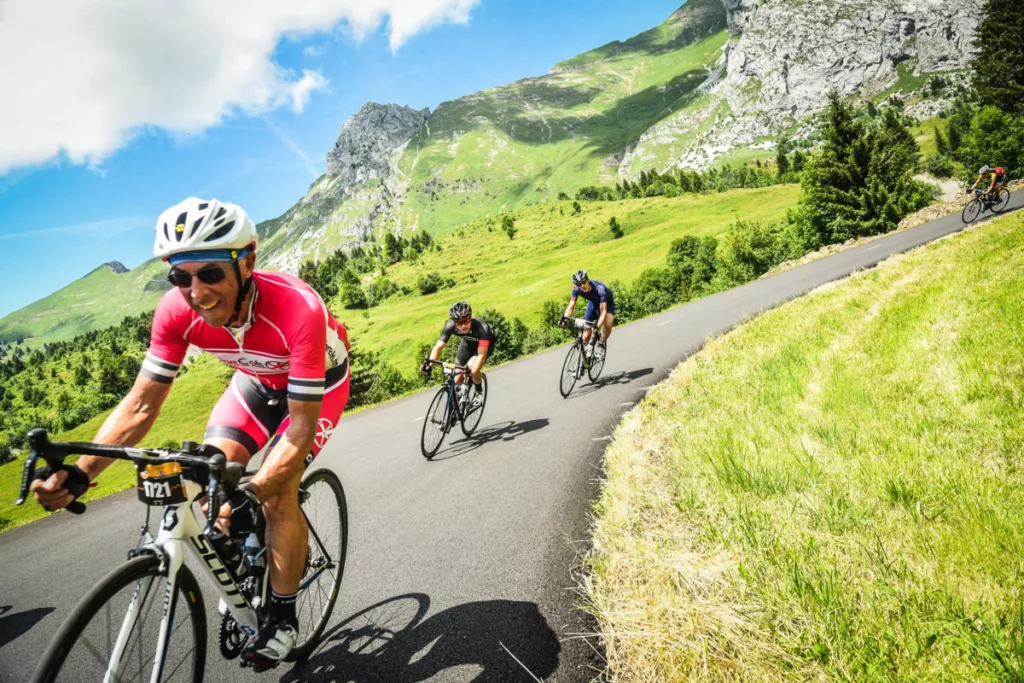
Descending is one of the best parts of road cycling, but it is also one of the areas where confidence, technique and judgement matter most. You can be strong on the climbs, fit enough for long rides and comfortable riding in a group, but if you tense up every time the road points downhill, you will never feel fully in control of the bike.
The good news is that descending is a skill. It can be learned, practised and improved. You do not need to throw yourself into Alpine hairpins at race speed to get better. You need to understand braking, body position, cornering lines, vision, grip and how to stay relaxed as speed increases.
This guide covers nine practical tips to help beginner and improving riders become faster, smoother and safer descenders. It is aimed at normal road riders, not pros on closed roads, so the priority is confidence and control first, speed second.
For wider beginner advice, ProCyclingUK’s cycling for beginners guide and start cycling guide for UK riders are useful places to build the basics before focusing on more specific handling skills.
Why descending well matters
Descending is not just about going faster. It affects safety, efficiency and how much you enjoy riding. A rider who descends well can hold a smooth line, brake less abruptly, carry speed safely, avoid panic reactions and arrive at the bottom less tense.
That matters on local lanes, sportives, club rides, cycling holidays and mountain trips. If you are training for a first 100km ride, a hilly sportive or a cycling trip abroad, descending is part of the challenge. Climbing gets most of the attention, but every climb usually has a descent waiting on the other side.
Good descending helps you:
- Ride more smoothly
- Brake later but more safely
- Corner with more confidence
- Keep better control in groups
- Reduce fatigue from tension
- Avoid over-braking on long descents
- React earlier to hazards
- Enjoy hilly rides more
- Save energy during long events
ProCyclingUK’s guide to getting better at short, steep climbs covers the uphill side of hilly riding. This guide focuses on what happens when the road turns back down.
Common descending mistakes at a glance
Many descending problems come from the same small habits: looking too close to the front wheel, braking too late, sitting too upright without purpose, gripping the bars too tightly or choosing a poor line through corners.
| Mistake | What it causes | Better approach |
|---|---|---|
| Looking at the front wheel | Late reactions and nervous steering | Look through the corner and further down the road |
| Braking in the middle of a corner | Reduced grip and unsettled handling | Brake before the corner, then release gradually |
| Staying tense on the bars | Jerky steering and poor control | Keep elbows soft and hands secure but relaxed |
| Riding on the hoods when nervous | Less leverage and less stability | Use the drops when speed and control matter |
| Entering corners too fast | Panic braking and wide lines | Set speed before the corner |
| Cutting blind bends | Risk from traffic and hidden hazards | Stay within your lane and only use a safe line |
| Ignoring tyre pressure | Poor grip or harsh handling | Check pressure before hilly rides |
| Practising only climbs | Slow progress downhill | Repeat safe descents deliberately |
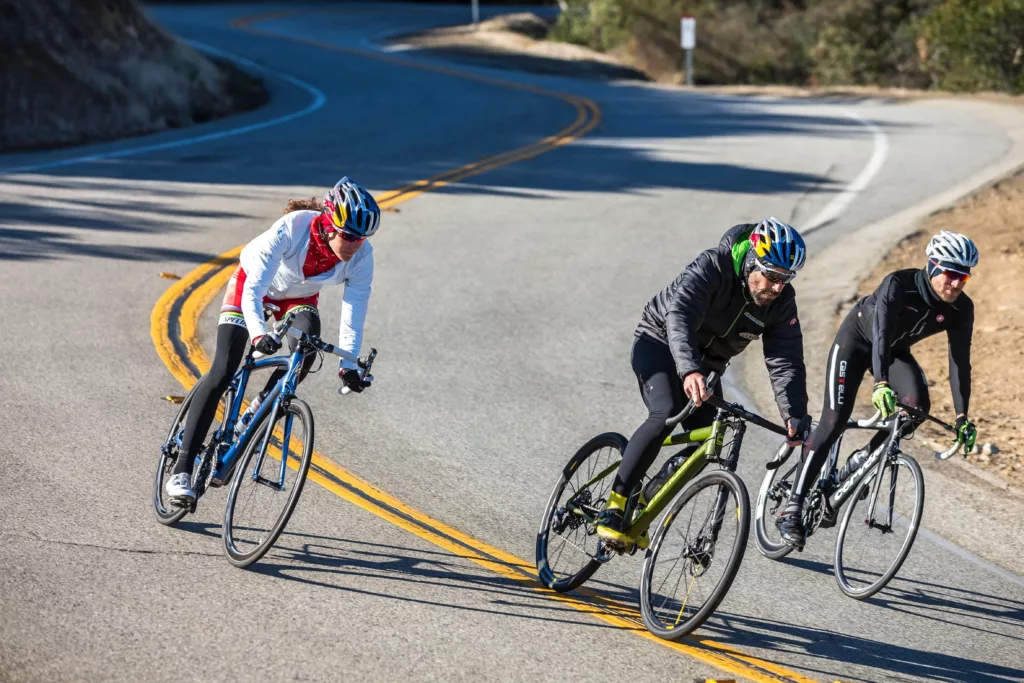
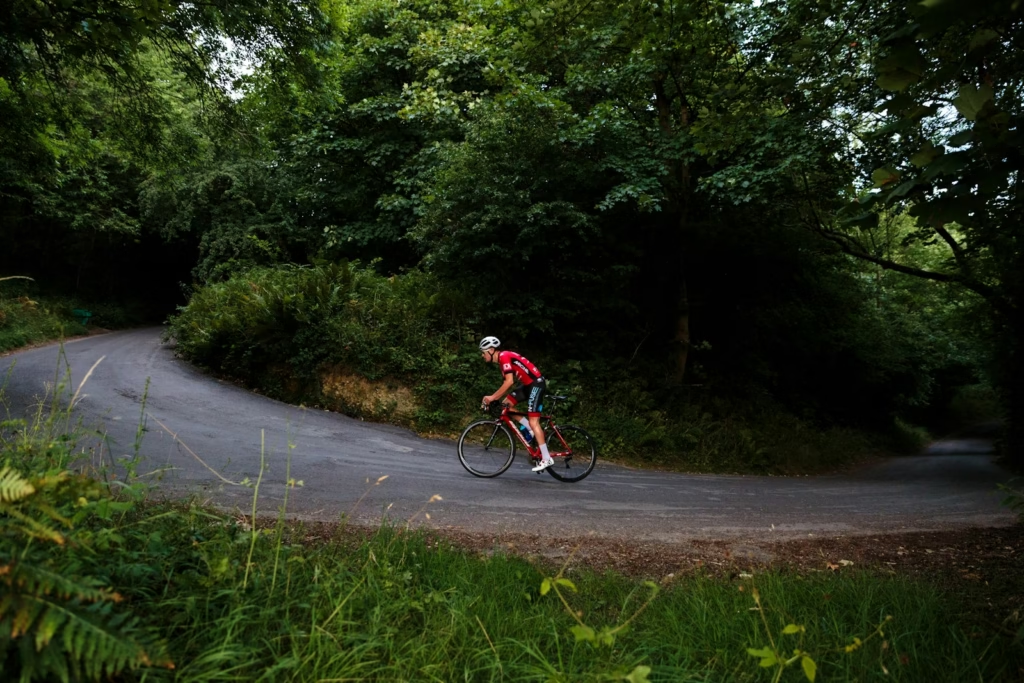
1. Choose the right line through corners
One of the first descending skills to learn is choosing the right line. A good line makes the corner feel calmer because it reduces the amount of steering you need to do. The classic approach is wide-apex-wide, but on open roads it must be used safely and within your lane.
For a left-hand bend, you would normally enter from the right side of your lane, aim towards the inside of the corner, then let the bike drift back out towards the exit if it is safe. For a right-hand bend, the shape is reversed. The idea is to make the corner as open and smooth as possible.
The important phrase is “within your lane”. Professional riders on closed roads can use the whole road. You cannot. On normal roads, your line must account for traffic, poor visibility, gravel, potholes, junctions, parked cars and riders around you.
A safe cornering line should:
- Stay within your lane
- Give you clear line of sight
- Avoid cutting blind bends
- Keep space for oncoming traffic
- Avoid drain covers, gravel and painted lines
- Let you exit the corner under control
- Avoid sudden steering changes
Do not chase the perfect racing line if the road does not allow it. A slightly slower safe line is better than a fast line that leaves no room for error.
2. Brake before the corner, not halfway through it
Good descending starts before the corner. The aim is to set your speed early, enter the bend under control and then allow the bike to turn without harsh braking.
Braking hard while leaned over asks your tyres to do two jobs at once: slow you down and hold the cornering line. That reduces your safety margin. It can also make the bike stand up and drift wider than you intended.
The basic sequence is:
- Look ahead and identify the corner
- Assess the road surface and visibility
- Brake while the bike is still mostly upright
- Release pressure as you enter the turn
- Hold a smooth line through the corner
- Look towards the exit
- Let the bike run once the road opens
This does not mean you can never touch the brakes in a corner. Sometimes you may need a small correction. But the goal is to do most of the braking before you turn, then keep the bike settled through the bend.
If you regularly find yourself grabbing the brakes in the middle of corners, you are probably entering too fast. Slow down earlier, pick a cleaner line and build confidence gradually.
ProCyclingUK’s guide to how to improve your descending on the bike also covers the importance of braking before corners and keeping the bike stable through the turn.
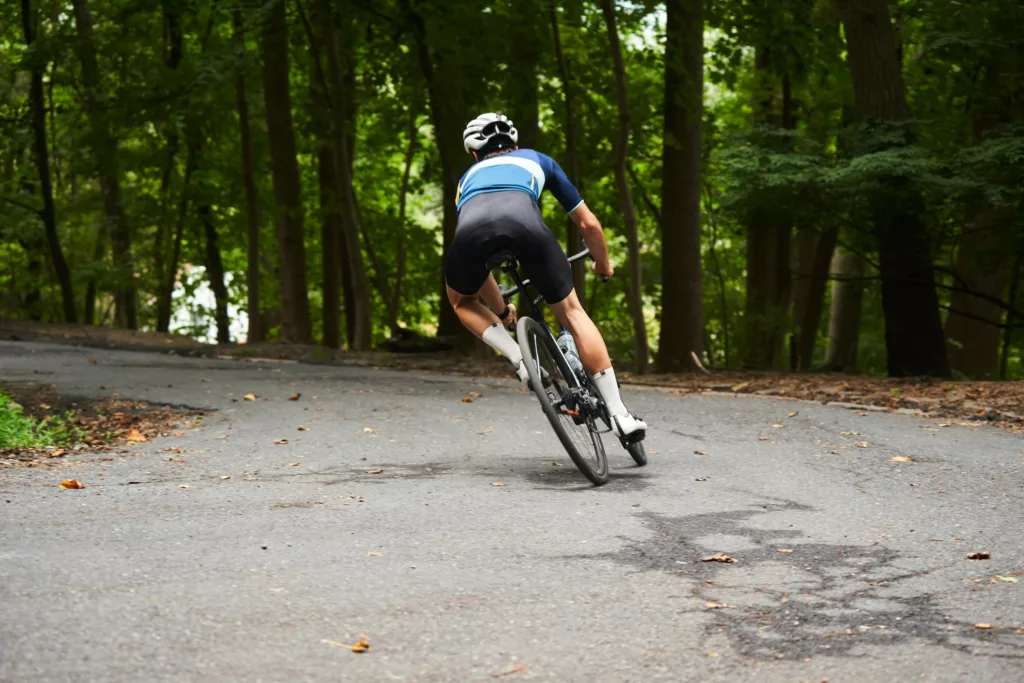
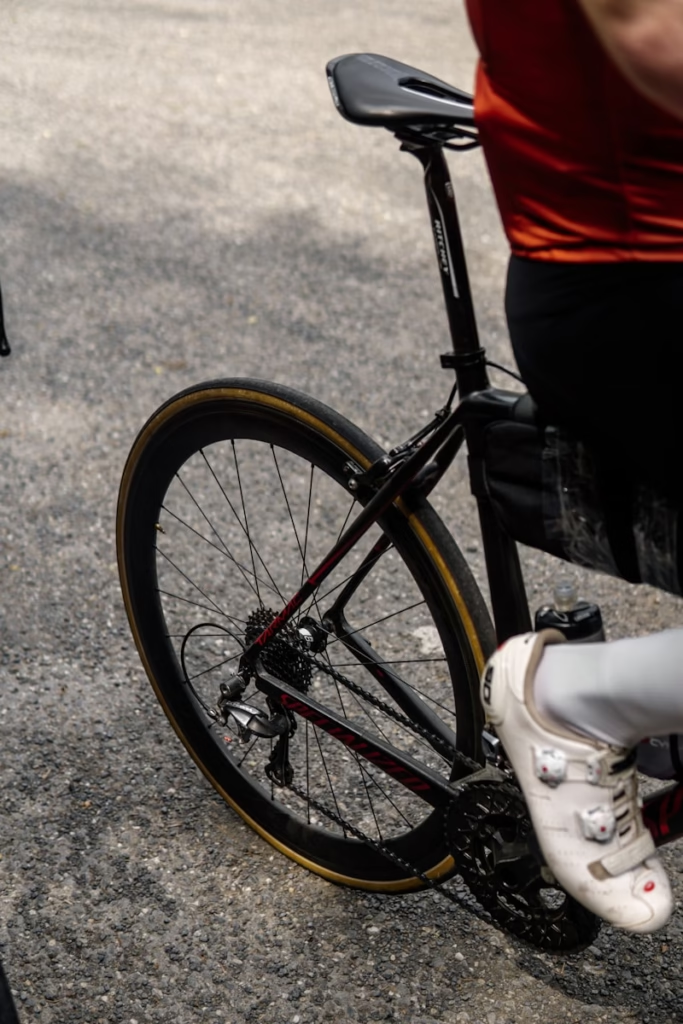
3. Learn to descend in the drops
Riding in the drops can feel intimidating for newer riders, but it is usually the more secure position for descending once you are comfortable with it. It lowers your centre of gravity, gives better brake leverage and makes it less likely that your hands will be knocked from the bars on rougher surfaces.
The drops also help you keep your weight more stable. You can bend your elbows, stay low, absorb bumps and control the bike with smaller movements.
The benefits of descending in the drops include:
- Better braking leverage
- Lower centre of gravity
- More stable body position
- More secure hand placement
- Better control over rough roads
- Improved aerodynamics on faster descents
If you are not used to the drops, practise on flat roads first. Spend a few minutes at a time riding there until it feels normal. Then use the drops on gentle descents before trying steeper or more technical roads.
ProCyclingUK’s guide to when you should ride in the drops explains why this position can help with cornering, sprinting and descending.
4. Check you can reach the brakes properly
Descending confidence is much harder if you cannot comfortably reach the brake levers. This is especially important for riders with smaller hands, new riders using drop bars for the first time, or anyone who has bought a bike without checking lever reach.
Most modern road groupsets allow some brake lever reach adjustment. This changes the distance between the lever and the handlebar, making it easier to wrap your fingers around the brake.
You should be able to:
- Reach the brakes from the hoods
- Reach the brakes from the drops
- Use at least your index and middle fingers comfortably
- Brake without stretching your hand awkwardly
- Keep a secure grip while braking
- Modulate pressure rather than grabbing suddenly
If you feel as though you are reaching for the lever, the setup needs checking. This is not just about comfort. If braking feels difficult, you are more likely to tense up, delay braking or overreact when the road changes.
Brake reach, bar shape and hood position all affect control. A simple lever adjustment can make a bike feel much safer on descents.
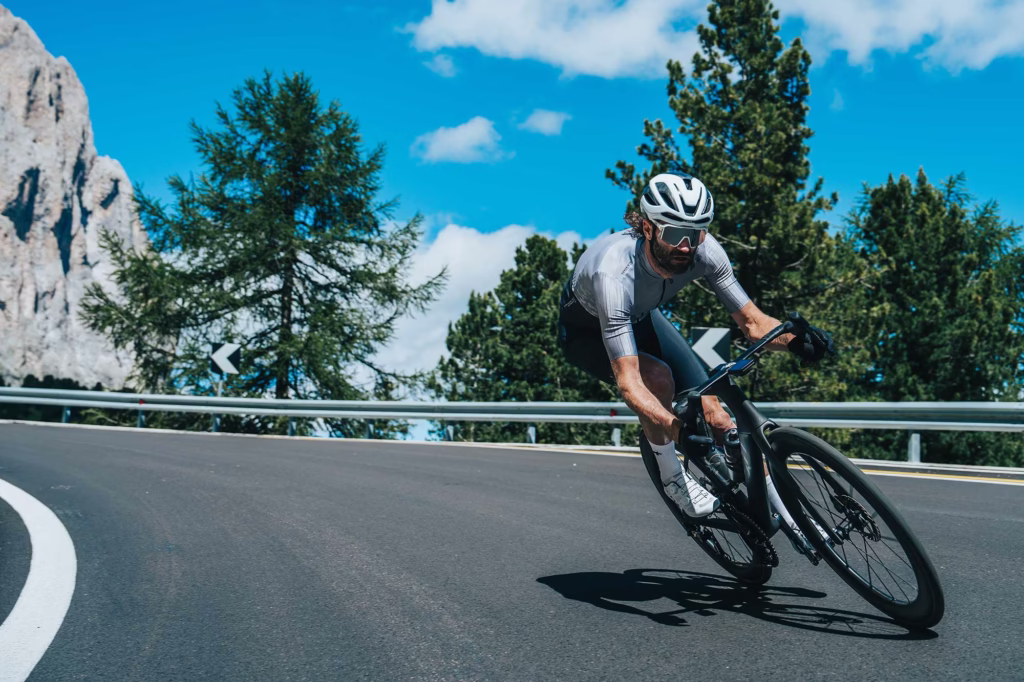
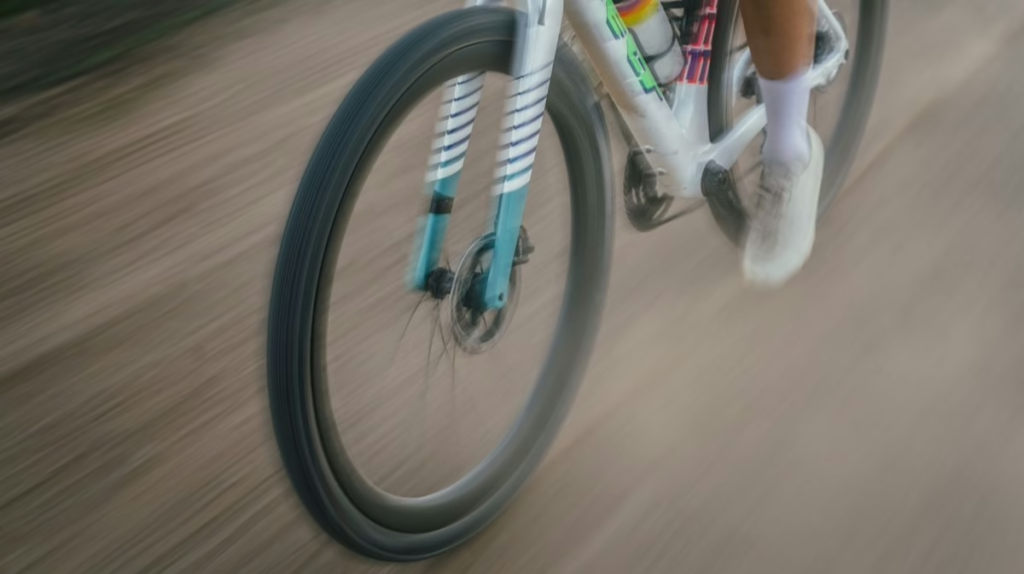
 Photo Credit: Lidl-Trek
5. Look ahead and through the corner
Where you look is where the bike tends to go. New riders often stare at the road directly in front of the wheel, especially when nervous. The problem is that this gives you almost no time to react.
On descents, your eyes should be scanning ahead. Look through the corner, towards the exit, and down the road. This gives your brain more time to process hazards, choose a line and make smooth adjustments.
Looking ahead helps you spot:
- Potholes
- Gravel
- Wet leaves
- Drain covers
- Painted lines
- Parked cars
- Oncoming traffic
- Junctions
- Tightening bends
- Riders braking ahead
It also helps avoid target fixation. That is when you stare at the thing you want to avoid and end up riding towards it. If there is gravel near the edge of the road, do not lock your eyes onto the gravel. See it, register it, then look where you want the bike to go.
A useful habit is to split your vision into two zones: near enough to spot immediate hazards, but far enough ahead to plan. Descending well is not about reacting late. It is about seeing early.
6. Put weight through the outside pedal
Your foot position matters in corners. When descending through a bend, the outside pedal should usually be down at six o’clock, while the inside pedal is up at 12 o’clock. This reduces the risk of clipping the inside pedal on the ground and helps load the outside of the bike.
Pressing weight through the outside pedal can improve grip and stability. It gives the tyres a more secure contact with the road and helps the bike feel planted through the turn.
For cornering, remember:
- Outside pedal down
- Inside pedal up
- Weight through the outside foot
- Inside knee relaxed
- Elbows soft
- Head up
- Eyes through the exit
You do not need to exaggerate the movement. It should feel balanced rather than forced. The bike can lean underneath you while your body stays calm and controlled.
Practise this on gentle corners first. Once it feels automatic, it becomes one of the simplest ways to make descending feel smoother.
7. Use your body as an air brake
Not all braking has to come from the brake levers. Your body can help control speed, especially on faster, straighter sections of descent.
If you sit taller, raise your chest and allow more air to hit your body, you create more drag. This can help slow the bike slightly without adding heat to the brakes or unsettling the tyres. It is not a replacement for proper braking, but it is a useful tool.
Using your body as an air brake can help when:
- You want to scrub speed gradually
- The descent is fast but not technical
- You are approaching a corner and want to reduce speed early
- You want to avoid dragging the brakes constantly
- You are riding in wet conditions and want smoother control
The key is to stay stable. Do not sit up abruptly in a group or make sudden movements. Keep your hands secure, look ahead and use the body position as part of a wider speed-control strategy.
On long descents, especially in the mountains, this can help reduce fatigue and prevent over-reliance on the brakes.
8. Relax your grip and let the bike move
Tension is one of the biggest enemies of good descending. If you grip the bars too tightly, lock your elbows and stiffen your shoulders, the bike becomes harder to control. Every bump travels through your arms, every correction becomes sharper, and the bike feels more nervous.
A relaxed rider is not a loose or careless rider. Your hands should still be secure, especially in the drops, but your arms should be able to absorb movement. Think soft elbows, relaxed shoulders and steady pressure through the pedals.
Signs you are too tense include:
- White-knuckle grip on the bars
- Locked elbows
- Raised shoulders
- Jerky steering
- Braking too often
- Feeling exhausted after a descent
- Struggling to hold a smooth line
Try to breathe deliberately before a descent starts. Drop your shoulders. Keep your elbows slightly bent. Hold the bars securely without crushing them. Let the bike move a little beneath you rather than fighting every small shift.
Confidence comes from control, not force.
9. Practise descending deliberately
Most riders practise climbing without thinking about it. They chase a hill, ride intervals or repeat a climb to get stronger. Fewer riders practise descending with the same intention.
To improve descending, choose a safe, quiet road with a descent you can repeat. Start slowly. Focus on one skill at a time: braking point, line choice, looking through the corner, outside pedal pressure or staying relaxed. Then ride back up and try again.
Good descending practice should be:
- Done on quiet roads
- Built up gradually
- Focused on one skill at a time
- Repeated regularly
- Kept within your comfort zone
- Avoided in heavy traffic or poor visibility
- Adjusted for wet or windy conditions
Do not use blind bends or busy roads for practice. Do not chase Strava segments while learning. The aim is to build repeatable control, not prove bravery.
A steady endurance ride is a good time to practise. If you are following a longer training plan, add technique work naturally on hilly routes. ProCyclingUK’s training plan for your first 100km ride is built around developing the consistency that helps make this kind of skill work easier to include.
How to descend safely in wet weather
Wet descending needs extra respect. Braking distances increase, grip reduces and hazards become harder to read. Painted lines, drain covers, manhole covers, wet leaves and diesel can all become slippery.
In wet conditions:
- Brake earlier
- Reduce speed before corners
- Avoid painted road markings where possible
- Avoid drain covers and metal surfaces
- Keep the bike more upright
- Use smoother steering inputs
- Leave more space to other riders
- Look further ahead
- Avoid sudden braking
- Check brake pads and tyres before riding
With disc brakes, braking performance is more consistent in the wet than with traditional rim brakes, but grip is still limited by the tyres and road surface. Better brakes do not change the laws of physics. Smoothness matters more than force.
How to descend in a group
Descending in a group adds another layer of complexity. You are no longer only reading the road. You are also reading the riders around you.
If you are not confident, leave more space. Do not overlap wheels, do not dive inside another rider on a corner, and do not assume everyone will brake at the same point. Group descents require trust and predictability.
When descending in a group:
- Hold your line
- Leave more space than usual
- Avoid sudden braking
- Signal hazards where safe
- Do not overlap wheels
- Do not cut inside riders on corners
- Look past the rider in front
- Stay predictable
- Move to the back if you feel nervous
There is no shame in descending cautiously in a group. It is better to give yourself room than to ride beyond your current confidence level.
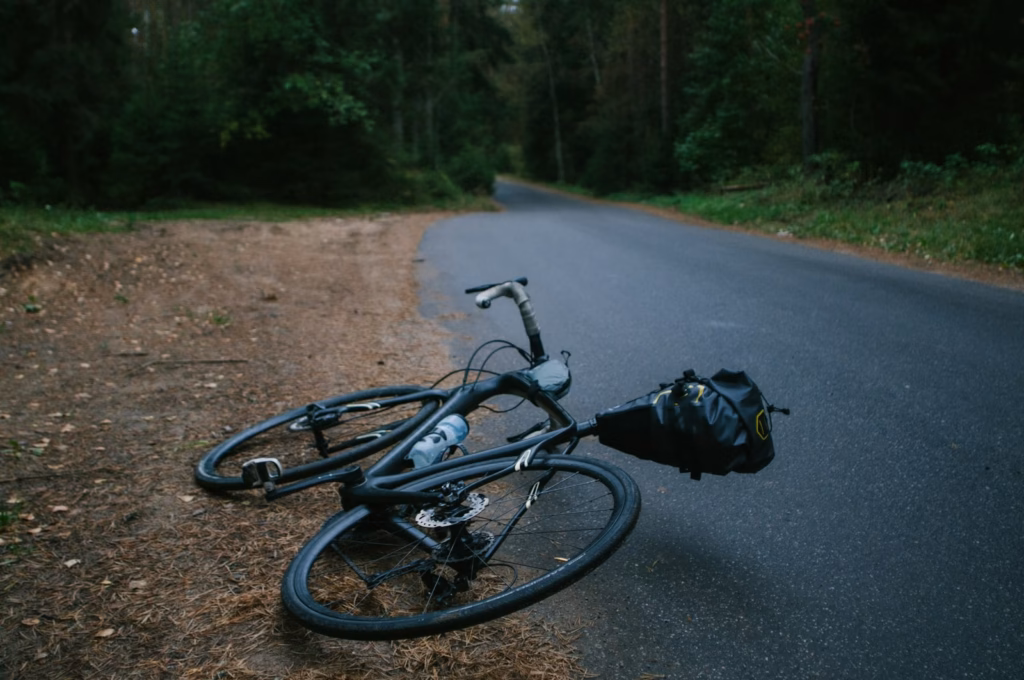
What to check on your bike before a hilly ride
Descending technique matters, but the bike also needs to be ready. Before a hilly ride, sportive or mountain trip, check the basics carefully.
Before descending-heavy rides, check:
- Tyre pressure
- Tyre condition
- Brake pad wear
- Brake lever feel
- Wheel security
- Thru-axles or quick releases
- Headset play
- Bar and stem bolts
- Saddle and seatpost security
- Wheel rims or disc rotors
- Chain lubrication
Poor tyre pressure, worn brake pads or a loose headset can make descending feel much worse than it should. ProCyclingUK’s guide to seven common bike maintenance problems covers the checks that keep the bike safe and predictable before rides.
Quick descending checklist
Use this as a simple reminder before a long or technical descent.
- Move to the drops if the descent is fast or technical
- Look ahead, not at your front wheel
- Brake before corners
- Release pressure as you turn
- Keep your outside pedal down
- Press weight through the outside foot
- Stay within your lane
- Avoid blind racing lines
- Keep elbows soft
- Breathe and relax your shoulders
- Build speed gradually
- Practise on familiar roads


Road bike descending FAQs
Is it safer to descend on the hoods or in the drops?
For faster or more technical descents, the drops are usually safer once you are comfortable using them. They give better braking leverage, a lower centre of gravity and a more secure hand position. On gentle descents, the hoods can be fine if you have full control and easy access to the brakes.
Should I brake with the front brake or rear brake when descending?
Use both brakes smoothly, with more stopping power naturally coming from the front brake. Avoid grabbing either brake suddenly. On steep descents, controlled braking before corners is better than dragging the brakes constantly through them.
How can I stop being scared of descending?
Build confidence gradually. Practise on quiet, familiar descents, ride within your comfort zone, focus on one skill at a time and avoid chasing faster riders. Confidence comes from repeated control, not forcing yourself to go too fast too soon.
Should I pedal downhill?
On shallow descents, pedalling can help maintain speed and rhythm. On steeper or technical descents, focus on position, braking and line choice. Through corners, keep the outside pedal down and avoid pedalling while leaned over.
Why does my bike feel unstable when descending?
Instability can come from tension, poor tyre pressure, bad body position, worn tyres, loose headset, crosswinds or too much weight through the hands. Check the bike first, then work on staying relaxed with soft elbows and a secure grip.
How do I corner faster on a road bike?
To corner faster, look through the bend, brake before turning, choose a safe line, keep the outside pedal down, press weight through the outside foot and stay relaxed. Build speed gradually rather than trying to force it immediately.
Final thoughts
Descending well is not about being reckless. It is about becoming smoother, calmer and more precise. The best descenders do not look fast because they are fighting the bike. They look fast because they are reading the road early, braking cleanly, choosing good lines and letting the bike flow beneath them.
For beginners, the priority is confidence. Learn to use the drops. Make sure you can reach the brakes. Look further ahead. Brake before corners. Keep the outside pedal down. Practise on quiet roads. Give yourself time.
Speed will come later. Control comes first. Once descending starts to feel less like something to survive and more like something to shape, hilly rides become far more enjoyable.