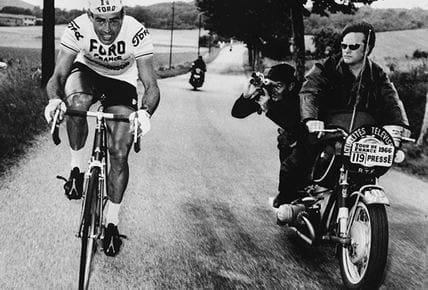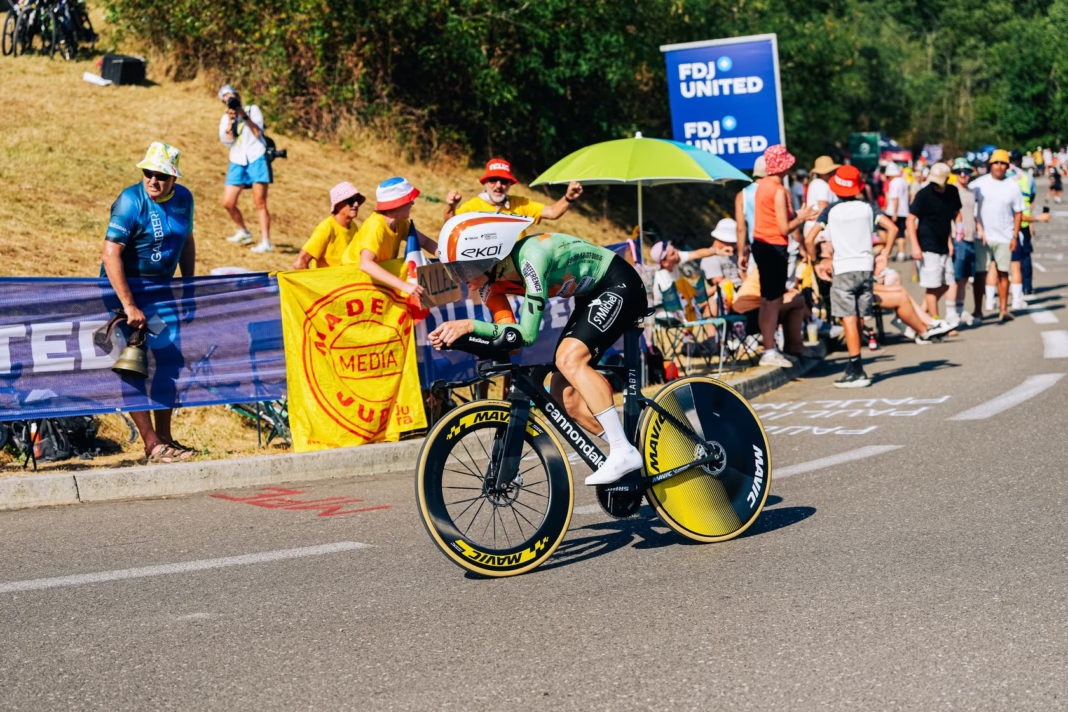
Use the drops when they give you a secure grip, good access to the brakes and a position you can hold comfortably. They are particularly useful for descending, faster cornering and sprinting, and can help reduce your frontal area into a headwind. They are an option to use deliberately, rather than a position you need to stay in for an entire ride.
What are the drops?
The drops are the lower curved sections of a drop handlebar. The hoods are the rubber-covered bodies of the brake and gear levers, while the tops are the upper section nearer the stem. Each position changes your reach, posture and access to the controls.
There is more than one usable hand position within the drops. For riding where you may need to brake, your hands must be far enough forward for your fingers to reach and operate the levers securely. Holding the very ends of the bars can put the brakes out of reach, depending on the handlebar and lever setup.
When the drops are useful
| Situation | Why use them? | What matters most |
|---|---|---|
| Descending | Secure grip and access to the brake levers | Clear view ahead and controlled braking |
| Cornering | A stable hand position as the bike leans | Appropriate entry speed and predictable line |
| Sprinting | Firm hold during hard acceleration | Space, control and practised technique |
| Headwinds or fast flat riding | Potentially lower aerodynamic drag | A sustainable torso position and relaxed elbows |
| Long rides | Another position for your hands and upper body | Comfort and the ability to change position safely |
On a descent, being lower is only useful if you can still look ahead comfortably and control the bike. Choose the position before a demanding section, not halfway through a tight bend. Slow to an appropriate speed before turning, then steer smoothly rather than making abrupt braking or direction changes.
For sprinting, the drops usually provide a firm grip when you pull against the bars. The older claim that sprinting on the hoods is never done was too absolute. The practical aim is a position that keeps your hands secure and the bike controlled as the effort rises, with enough space to practise without putting others at risk.
Are the drops always faster than the hoods?
No. Aerodynamics depends on the shape of the whole rider, not simply which part of the handlebar they hold. Straight arms in the drops can leave the torso higher than bent elbows on the hoods. Rider proportions, clothing, equipment and the ability to maintain the posture also matter.
Avoid forcing yourself into an extremely low position that restricts your view or makes the bike difficult to handle. Keep your hands holding the bars and your brakes accessible. A small reduction in drag is of little use if you cannot sustain the effort or react to what is ahead.
Braking from the drops
Many riders can apply the brakes more firmly from the drops because their fingers reach a different part of the lever. Get used to that feel at low speed. Apply both brakes progressively and practise controlled slowing in a clear, straight area before relying on an unfamiliar position on a steep descent.
If you can only touch the lever with the tips of outstretched fingers, the setup needs attention. Some levers allow reach adjustment, and shallow-drop handlebars may be easier to use for some riders. Adjustment methods vary, so follow the component instructions or ask a mechanic rather than changing brake settings by guesswork.

How to get comfortable using the drops
Begin on a quiet, straight stretch or a suitable closed-road session. Keep looking ahead, move one hand at a time from the hoods into the curved section, then check that you can reach the brakes without shifting your grip. Return to the hoods one hand at a time and repeat until the movement feels predictable.
Use short periods in the position at first, keeping your shoulders relaxed and elbows slightly bent. Gradually extend the time if it remains comfortable. Our guide to finding a cycling circuit near you can help identify a place to practise away from motor traffic.
When to check your bike fit
You should not have to tolerate pain, persistent numbness or an inability to see ahead to use the drops. Excessive reach, too much saddle-to-bar drop or poorly positioned levers may be part of the problem. A fit assessment can help distinguish a setup issue from unfamiliarity with the position.
Change hand position periodically when conditions allow, but do not treat that as a guaranteed cure for numb hands. For a new road-bike setup, also check that your pedals and cleats suit your riding and that tyres are inflated appropriately. The useful position is the one in which you can steer, brake and pedal confidently.