

There are few bicycle noises more irritating than the metallic whisper of a disc brake rubbing during an otherwise quiet ride. You spin the wheel in the workstand, hear a faint scrape once per revolution, then discover that the noise disappears as soon as the bike is back on the ground. Or it is silent at home and starts rubbing after a steep descent.
A rubbing disc brake is not always a problem with the calliper’s position. A wheel that is not properly seated, a slightly warped rotor, worn pads, a sticky hydraulic piston or movement at the hub can produce similar symptoms. The most efficient repair starts by identifying which of those conditions is present before touching adjustment bolts.
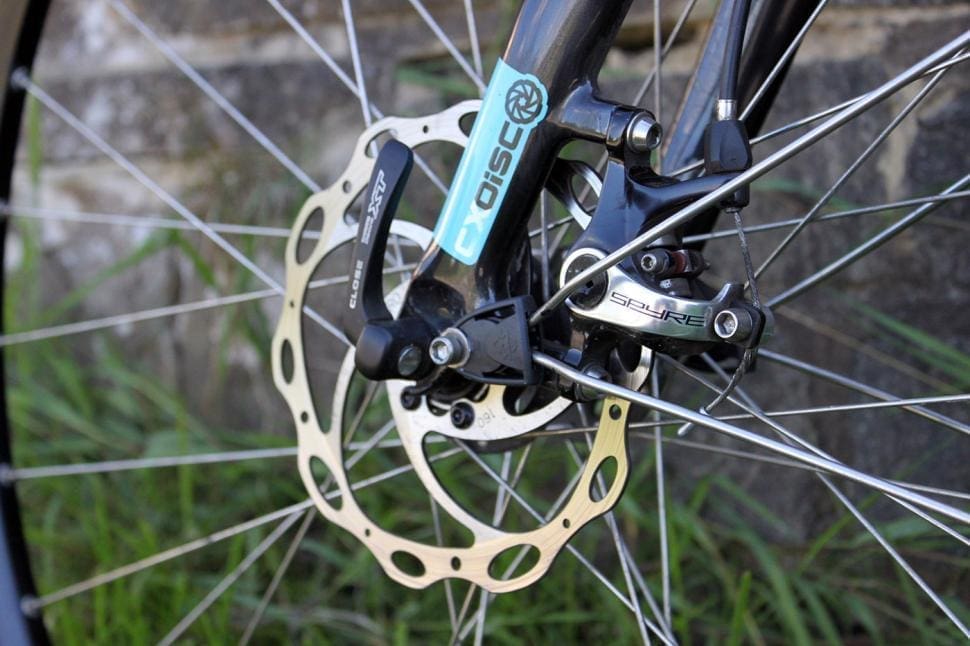
Why does a bicycle disc brake rub when the wheel spins?
Disc brakes slow a bicycle by pressing pads against a metal rotor fixed to the wheel hub. When the lever is released, the pads should sit clear of the rotor sufficiently for it to turn without significant friction. That clearance can be narrow, especially on modern hydraulic road systems.
Park Tool’s hydraulic disc brake alignment guidance identifies several causes worth ruling out before adjusting the calliper: the wheel may not be seated correctly, the rotor may be bent or loose, the wheel bearings may have play, or one of the pistons may not retract freely. Moving the calliper cannot reliably solve all of those faults.
Some slight intermittent noise may occur after a wet ride or during a prolonged descent, but persistent heavy drag is not something to ignore. If the brake has suddenly begun to rub after an impact, or if braking performance has changed, investigate before riding further.
| Symptom | What to check first | Likely next action |
|---|---|---|
| Constant rubbing throughout the wheel rotation | Calliper centring and pad clearance | Align according to the brake manufacturer’s instructions |
| Scrape at one point every revolution | Rotor lateral runout or local distortion | Inspect rotor condition and runout |
| Rubbing began after a wheel change | Wheel seating, axle security and rotor position | Refit and secure the wheel correctly |
| Rubbing began after pad replacement | Correct pad model, piston retraction, spring and fit | Recheck installation and lever feel |
| Noise appears after braking hard or descending | Heat, rotor movement and caliper clearance | Allow to cool and inspect for persistent defects |
| Brake lever feels spongy or pulls to the bar | Hydraulic fluid system, contamination or leak | Stop riding and arrange inspection or repair |
Check that the wheel is seated correctly before adjusting anything
When a wheel is removed and reinstalled, a change in its position can shift the rotor sideways relative to the pads. On bikes with quick-release skewers, wheel seating and skewer security deserve particular attention. On thru-axle bikes, confirm the wheel and axle are fitted correctly and tightened to the manufacturer’s requirements.
Park Tool recommends checking wheel seating before starting hydraulic brake alignment. Do this with the bike safely supported and the wheel correctly seated in the fork or rear dropouts. Spin it and listen again. If the sound disappeared after a wheel was refitted correctly, the brake itself may never have needed an adjustment.
Do not loosen an axle while the bike is moving, and do not improvise a torque value for an unfamiliar axle. If you are uncertain that the wheel is secure, a bike shop should check it before you ride.
How to see where the rotor is touching the pads
A good light makes diagnosing the problem much easier. With the bike stationary and wheel elevated, illuminate the calliper from behind so that you can see the narrow gap between the rotor and each brake pad. Spin the wheel slowly and watch how that gap changes.
If the rotor remains straight but sits closer to one pad than the other along its full circumference, calliper centring is a plausible cause. If the gap opens and closes once per revolution, look for rotor runout or a mounting issue. If the rotor itself appears to wobble with the wheel, also check for movement at the hub.
Keep fingers, loose clothing and tools well away from the spinning rotor, spokes and brake mechanism. Never touch a rotor immediately after a long descent or hard braking: it may be very hot even when it no longer looks unusual.
How hydraulic brake calliper alignment works
On many hydraulic disc brakes, the calliper mounts allow a small amount of sideways movement. Park Tool’s procedure starts by ruling out wheel seating, rotor and piston faults, then loosening the relevant calliper mounting bolts just enough to permit movement. Holding the brake lever can centre the calliper over the rotor while the bolts are snugged, followed by inspection of the pad gaps.
That is a diagnostic overview, not a universal fastening instruction. Flat-mount and post-mount callipers, adapters and different manufacturers have model-specific bolt arrangements and torque values. Use the service instructions for the brake and frame, with a suitable torque wrench, rather than treating the typical figures in a general tutorial as the correct values for every bike.
Lever-centred alignment is not always sufficient. If one piston is sticking, or the rotor has measurable runout, recentering can make the brake quiet in one position but leave the underlying fault untouched. Avoid repeatedly loosening bolts in the hope that every noise will disappear by chance.
Mechanical disc brakes need a different adjustment
Mechanical disc brakes use a cable to move the braking mechanism, and many designs have dedicated pad clearance adjusters. Some move a single pad against a stationary opposite pad, while others move both. Park Tool’s mechanical brake service instructions distinguish these designs because their adjustment sequences are different.
The mechanical brake’s cable barrel adjuster is not always a suitable way to compensate for worn pads. On certain designs, excessive cable adjustment can move the actuating arm into an unsafe position where it cannot deliver full braking force. Pad adjusters and cable tension have different jobs.
If you have mechanical brakes, identify the exact model, then follow its own alignment instructions. A TRP Spyre, for example, is not adjusted in every detail like a basic single-piston mechanical calliper. A generic ‘squeeze the lever and tighten two bolts’ shortcut may not give the correct pad clearance.
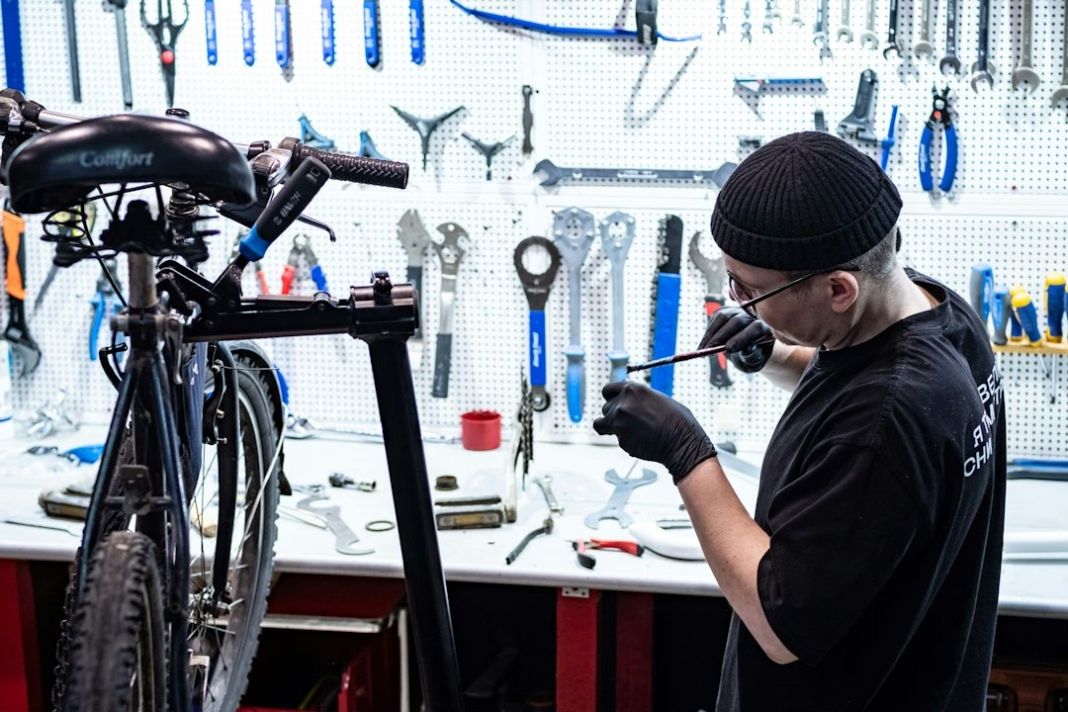 Photo Credit: Anton Savinov / Unsplash
What if the rotor is bent?
A slight lateral deviation in the rotor can create a repeating scrape at one point in every wheel revolution. A rotor truing tool can sometimes correct a minor bend, but the safe approach depends on the rotor’s condition, thickness, material and the manufacturer’s guidance.
Do not attempt to straighten a rotor that is cracked, severely distorted, heat damaged or below its specified minimum thickness. Replace it with a compatible part. Also check that rotor mounting bolts or the lockring are secure according to the manufacturer’s specification.
A surprising amount of brake rubbing can come from elsewhere in the wheel. Bearing play allows the hub to shift laterally, moving the rotor across the pads. Frame or fork damage can affect alignment too. These faults should be addressed directly rather than disguised with an increasingly off-centre calliper.
Sticky pistons and brake pads that do not retract
Hydraulic pistons extend as the brake is applied and return enough to provide running clearance when the lever is released. Dirt, corrosion or other servicing issues can cause one piston to move differently from the other. You may see one pad sitting much closer to the rotor even when the calliper itself appears centred.
Cleaning or servicing hydraulic pistons requires appropriate procedures and care around seals and brake fluid. Shimano’s technical guidance also stresses that brake pads contaminated with oil should be replaced. Do not spray ordinary lubricants onto the calliper, pads or rotor to quieten the noise. That can contaminate the friction surfaces and seriously reduce braking performance.
With the wheel removed, avoid squeezing the hydraulic brake lever unless you are deliberately following the correct service procedure and have an appropriate spacer installed. Pistons can extend too far and require careful resetting. Never force unfamiliar components back with sharp metal tools.
Can disc brakes rub after a descent without being faulty?
Brake rotors heat up when they convert kinetic energy into heat during braking. Temperature changes can temporarily affect tolerances and the sound the brake makes. A rotor may brush a pad after a long descent and become quiet as it cools, particularly when clearances are small.
However, do not use heat as a blanket explanation for severe or recurring rub. Discolouration, pulsing, a distorted rotor, reduced stopping power or a change in lever travel are reasons to inspect the braking system. Prolonged overheating can damage pads, rotors or fluid systems depending on the brake design.
If the brake suddenly becomes noisy on a descent, stop safely, allow it to cool and inspect before continuing. If performance has deteriorated or you have any doubt about the cause, arrange professional service rather than descending again to test whether it clears.
When are new pads or a brake bleed needed?
Pad wear reduces the available friction material. Manufacturers specify minimum wear limits, and some systems require replacement if the lining is contaminated with oil or if a retaining spring begins to contact the rotor. Shimano’s maintenance materials provide model-specific limits for its pads; do not assume one manufacturer’s measurements apply to every brake.
A hydraulic system with a spongy lever, poor lever travel or visible fluid leakage may need repair or bleeding, but those symptoms are not fixed by moving the calliper. Use the brake manufacturer’s specified fluid and service method. Mixing fluid types or using incorrect procedures can damage seals and impair braking.
Our common bike maintenance problems guide covers related checks that can help identify mechanical issues before a ride. You may also find our chain lubrication guide useful for distinguishing drivetrain noise from noises produced by the braking system, while keeping lubricant entirely clear of the rotors.
Check braking performance before the next ride
After any brake adjustment, confirm the wheel is secure and the brake calliper’s fasteners are tightened correctly. Check for rotor contact, but also operate each brake lever several times and make sure the stopping force is firm and predictable. A quiet wheel is not proof that the brake is functioning properly.
Carry out a cautious low-speed brake test in a safe area before returning to normal roads or a steep route. If the lever contacts the bar, the brake leaks, the pads are contaminated or you cannot achieve reliable stopping, do not ride until the fault has been corrected.
The useful sequence is to seat the wheel correctly, inspect the rotor’s path, check pads and pistons, then address calliper alignment if that is genuinely the cause. It is a more reliable approach than treating every metallic scrape as a two-bolt adjustment.

