

A chain can look perfectly serviceable while quietly wearing through the rest of the drivetrain. It still shifts, there is no obvious missing link, and a wipe with a rag makes it appear almost new. The expensive clue sometimes comes later, when a new chain skips across an old cassette and a straightforward maintenance job turns into a larger bill.
The reliable answer to when you should replace a bike chain is to measure its wear, rather than wait for it to break or reach a particular mileage. For most modern 11-, 12- and 13-speed derailleur systems, the general replacement point is around 0.5 per cent wear. Many 5- to 10-speed chains have a 0.75 per cent guideline. Those numbers come from Park Tool’s current chain-checking instructions, and the drivetrain manufacturer’s specification always takes precedence.
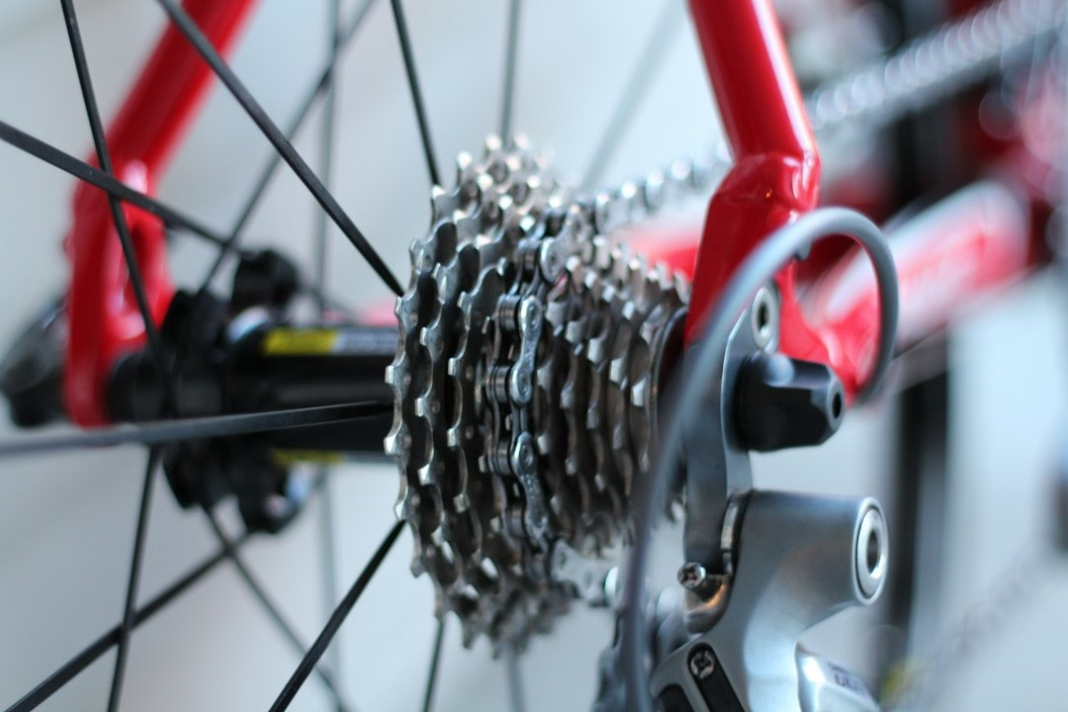 Photo Credit: Wayne Bishop / Unsplash
What does chain wear actually mean?
A steel bicycle chain does not normally lengthen because the side plates stretch like elastic under pedalling load. Over thousands of articulations, the surfaces around its pins and inner links wear. The distance between parts of the chain effectively increases, so the pitch no longer meshes as precisely with the teeth on the chainrings and cassette.
The process is gradual. A worn chain may still run quietly, particularly if the sprockets have worn alongside it. That is what makes judging by sight or sound unreliable. By the time the rider experiences a chain skipping under load, the cassette may already have enough wear to require replacing as well.
Rain and winter grit matter because dirt can act as an abrasive inside the moving parts. A rider commuting daily on salted roads can wear a chain more quickly than someone doing greater distances on clean, dry tarmac. Lubrication, cleaning, shifting habits, chain construction and riding conditions all change the picture. No single distance, whether 1,000km or 5,000km, is a dependable replacement schedule.
The chain wear numbers that matter
Chain checking tools report a percentage of wear. A reading of 0.5 per cent does not mean that 0.5 per cent of the metal has disappeared. It describes the measured increase in length over the tool’s reference span, with some differences between measuring tools and chain designs.
| Drivetrain type | General replacement point | Important qualification |
|---|---|---|
| Single-speed or two-sprocket chains | At or before 1.0% | Check the chain and sprocket maker’s advice |
| 5- to 10-speed derailleur chains | At or before 0.75% | Some specific chains may differ |
| 11-, 12- and 13-speed derailleur chains | At or before 0.5% | Use a compatible chain checker and follow manufacturer guidance |
These are Park Tool’s general guidelines for its CC-4.2 chain checker, not universal rules for every bicycle ever produced. Its current tool is designed to measure a range of 5- to 13-speed chains, including SRAM Flattop and T-Type. Some older measuring tools are not suitable for those chain designs, so buying the first checker that displays 0.5 and 0.75 can lead to the wrong result.
This is especially relevant on a modern road bike with an expensive close-ratio cassette. A chain that has crossed its recommended wear threshold may continue to function, but keeping it in service risks accelerating wear to parts that cost substantially more to replace.
How to check chain wear at home
A dedicated chain checker is the simplest method. Identify how many sprockets your rear cassette has, confirm the checker supports the chain design and then follow the tool’s instructions. The procedure takes less time than cleaning the bike, but accuracy depends on the contact points and the amount of force used.
On a typical drop-in gauge, place its reference end on the chain as directed and lower the measuring end into the links without forcing it. If the gauge drops into the chain at the stated replacement mark, it is time to inspect the drivetrain and plan a new chain. Do not press or twist a gauge until it gives the number you want. Park Tool specifically warns against forcing some of its measuring mechanisms.
Check several places around the chain rather than relying on a single position. This helps identify a stiff or damaged link and reduces the chance that contamination on one section determines the result. If the numbers seem implausible, clean the chain and check again with the tool held as instructed.
A ruler can provide a useful cross-check if you understand how to measure between pin centres across an exact span. It is much less convenient on a dirty bicycle, and a vague measurement along the outside plates tells you very little. For most riders, a compatible purpose-built gauge is the better investment.
What if the chain passes 0.5 but not 0.75?
That depends on the drivetrain. On an 11- or 12-speed derailleur system, a chain that has already reached a genuine 0.5 per cent reading is generally at the replacement point. Waiting for 0.75 per cent because the checker has another notch can be an expensive mistake. On a 9-speed system, by contrast, 0.75 per cent may be the appropriate general threshold.
There is another trap: the tool can be incompatible with the chain. SRAM’s Flattop and T-Type constructions are not measured reliably by every older drop-in gauge. If you have an unusual chain, check its manufacturer’s instructions and the measuring tool’s compatibility list before treating the figure as definitive.
If a bike has no shifting problems but your checker shows a high reading, that is not a contradiction. Chain and sprocket wear develop together. Good shifting does not prove that the chain is below its wear limit.
Will a new chain work with an old cassette?
Often, yes. Replacing chains before excessive wear is precisely how riders extend cassette and chainring life. But a new chain may skip under load on a cassette whose tooth profiles have worn to match the old one. This is most noticeable when climbing or accelerating hard on a frequently used sprocket.
It is worth distinguishing genuine tooth wear from other faults. Poor indexing, a bent derailleur hanger, a stiff chain link or an incorrectly installed chain can all produce noises and shifting trouble. A chain skipping across a worn sprocket is not solved by endlessly adjusting the barrel adjuster.
Before blaming the cassette, confirm the replacement chain is compatible with the drivetrain, cut to the correct length and installed in the correct direction where applicable. Check whether the maker requires a specific quick link and whether that link can be reused. Some are single-use. If the drivetrain still jumps after these checks, inspect the sprockets and chainrings for wear with an experienced mechanic.
How often should you measure a bike chain?
The useful interval is one that catches wear before the limit, not one that appears reassuringly exact. A rider doing frequent wet commutes could check every few weeks during the grittiest part of winter. Someone riding occasionally in dry conditions may reasonably check less often. Riders who do substantial training mileage should add chain wear to their regular bike inspection rather than waiting for a service appointment.
A simple habit is to check after washing the bike, when you can see and handle the chain cleanly. Note the reading and check again after a few weeks of normal use. Once it approaches the relevant threshold, shorten the interval. That builds a genuine picture of how your riding affects chain life without making up a universal kilometre figure.
Cleaning and lubrication still matter, but they cannot reverse wear. If a gauge says the chain has reached its limit, a fresh coat of oil or wax is not a substitute for replacement. Our guide to lubricating a bike chain properly covers how to reduce unnecessary contamination, while the article on waxed chains explains the trade-offs of an alternative maintenance approach.
What else should you inspect when replacing the chain?
Look beyond the chain itself. Check whether jockey wheels turn freely and whether their teeth are excessively worn. Inspect the cassette for obvious damaged teeth or uneven wear, while remembering that modern shifting ramps deliberately give some teeth unusual profiles. Check the chainrings for damage and the rear derailleur for alignment.
The chain itself must match the intended number of rear sprockets and the drivetrain’s particular design. A 12-speed chain is not simply interchangeable with every other 12-speed chain. Some systems require direction-specific installation or a brand-specific connecting link. If in doubt, use the chain listed by the groupset manufacturer.
After fitting, shift across the cassette on a workstand or quiet test ride, then test moderate load in a safe location. Any persistent skipping should be investigated before tackling traffic or a steep climb. The common bike maintenance problems guide covers adjacent faults worth ruling out.
Should you replace a bike chain before winter?
Only if it needs replacing. A nearly new chain does not benefit from being thrown away because the clocks have changed. A worn chain, however, is poor equipment to take into months of salty spray, gritty lanes and reduced daylight.
The more useful winter preparation is a wear check followed by a cleaning and lubrication routine you can maintain. If the chain is close to its limit and the bike is about to be used daily in poor weather, replacing it now can be more sensible than waiting until it begins to skip in January. That decision should come from the measurement and the condition of the rest of the transmission, not the calendar.

